As per my previous post I had a second night of beautiful clear skies. I had a few issues with plate solving though. Loaded a previous nights frame and solved it. asked the scope to goto and it was out by over a degree???? Some manual moves to frame it gave me an opportunity to gather another 3 hours of data. I have had several processing attempts. Some of which are posted here. Before christmas I spent some time with Mark Casto
http://astrocasto.blogspot.co.uk/ where I learned and brushed up on a few Photoshop processes.

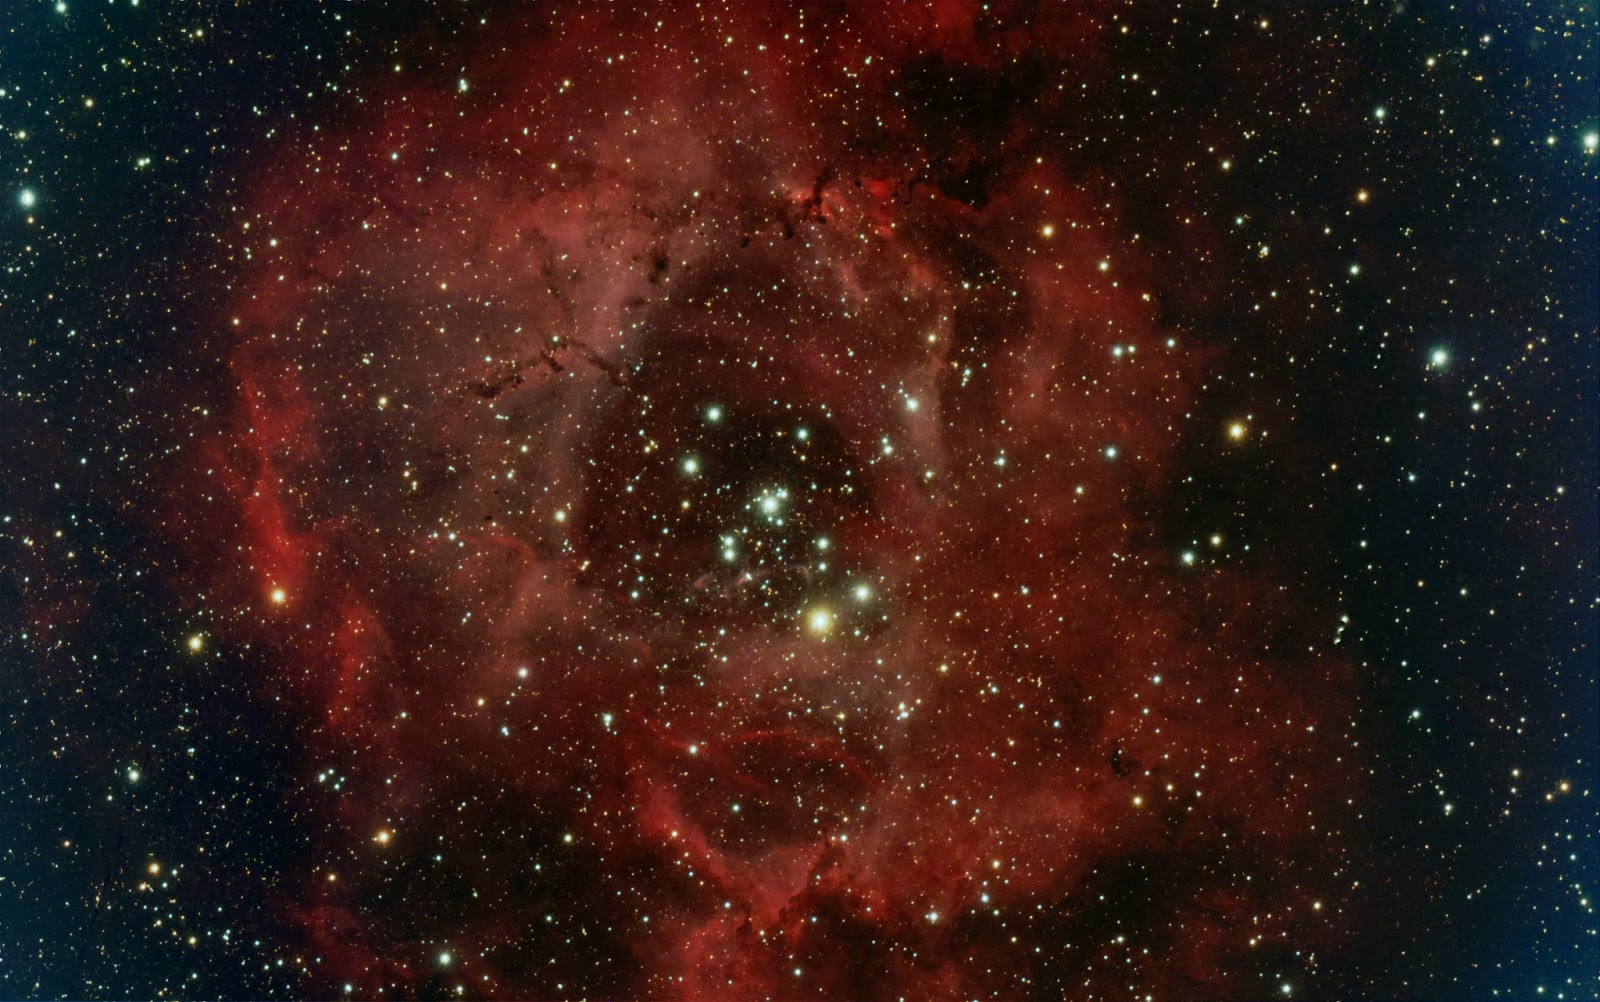
From these images you can see I have enjoyed having a play. First image was a 2 hour process with flats removed and processed to highlight the dark dust lanes. Very pleased with the focus and flat image that the new spacers provide. I especially like the subtle wispy tendrils. 10 minute subs were used. Sometimes underprocessing brings out more details.

The second Image is a more in depth
process concentrating on keeping the colours as natural as possible without clipping the bottom end. 5 hours of data provide a smoother image. A little more to do with the background colour. A big learning curve here as this is the first time I have used photoshop to process an image. I am very happy with the progress made so far.

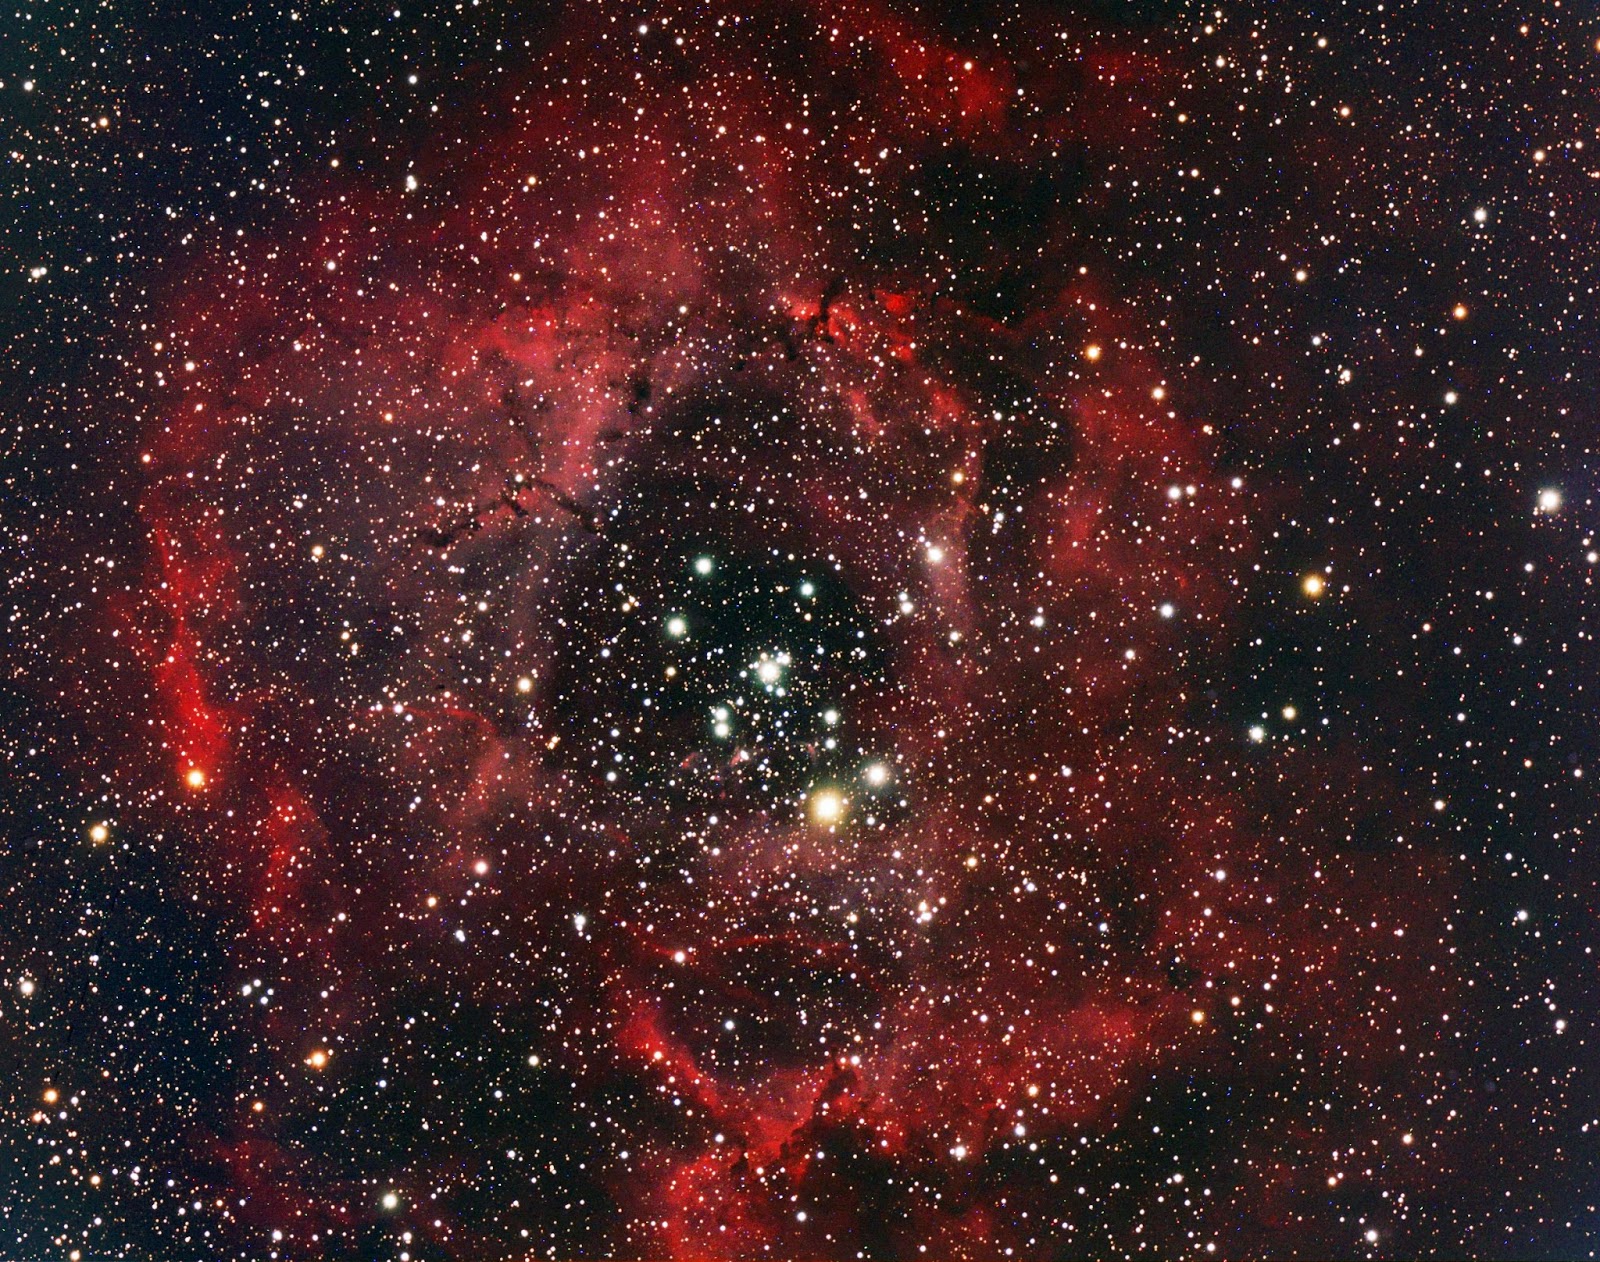
The final image here is a combination of the 2 leaving the dark dust more prominent. I like the way the outer edges are a striking red from the internal pink, colour correction to maintain star colour. Finally I used a what appears to be an aggressive kernel filter to remove some intensity from the stars. It has clipped the bottom end but I like the way it has removed some stars thus focus the eye on the nebulosity. Beauty is of cousre in the eye of the beholder And the point of this post was to show differences in processing on different areas of the image. As per usual the weather has closed in again and I see in the forecast a week of rain. I would like a few more hours in here before it is complete, but I do think I am on the way to a very pleasing image. Tell me what you think fellow bloggers.


 From these images you can see I have enjoyed having a play. First image was a 2 hour process with flats removed and processed to highlight the dark dust lanes. Very pleased with the focus and flat image that the new spacers provide. I especially like the subtle wispy tendrils. 10 minute subs were used. Sometimes underprocessing brings out more details.
 The second Image is a more in depth